How to Install OpenClaw: A Step-by-Step Guide
If you have used ChatGPT, you know the pattern: open a chat, ask a question, get an answer. Useful for quick tasks, but it resets every time. Nothing persists. Nothing connects to your real workflow.
OpenClaw is different. It gives you persistent, autonomous agents that run on your own infrastructure, connect to real tools, and keep context across sessions. Instead of a chatbot that answers one question and forgets, you get an agent you can assign goals to, give tool access to, and let run while you focus on other things.
This guide walks you through installing OpenClaw on macOS, Linux, or Windows (WSL2), setting up the NemoClaw security sandbox, and running your first agent in under 10 minutes.
Prerequisites
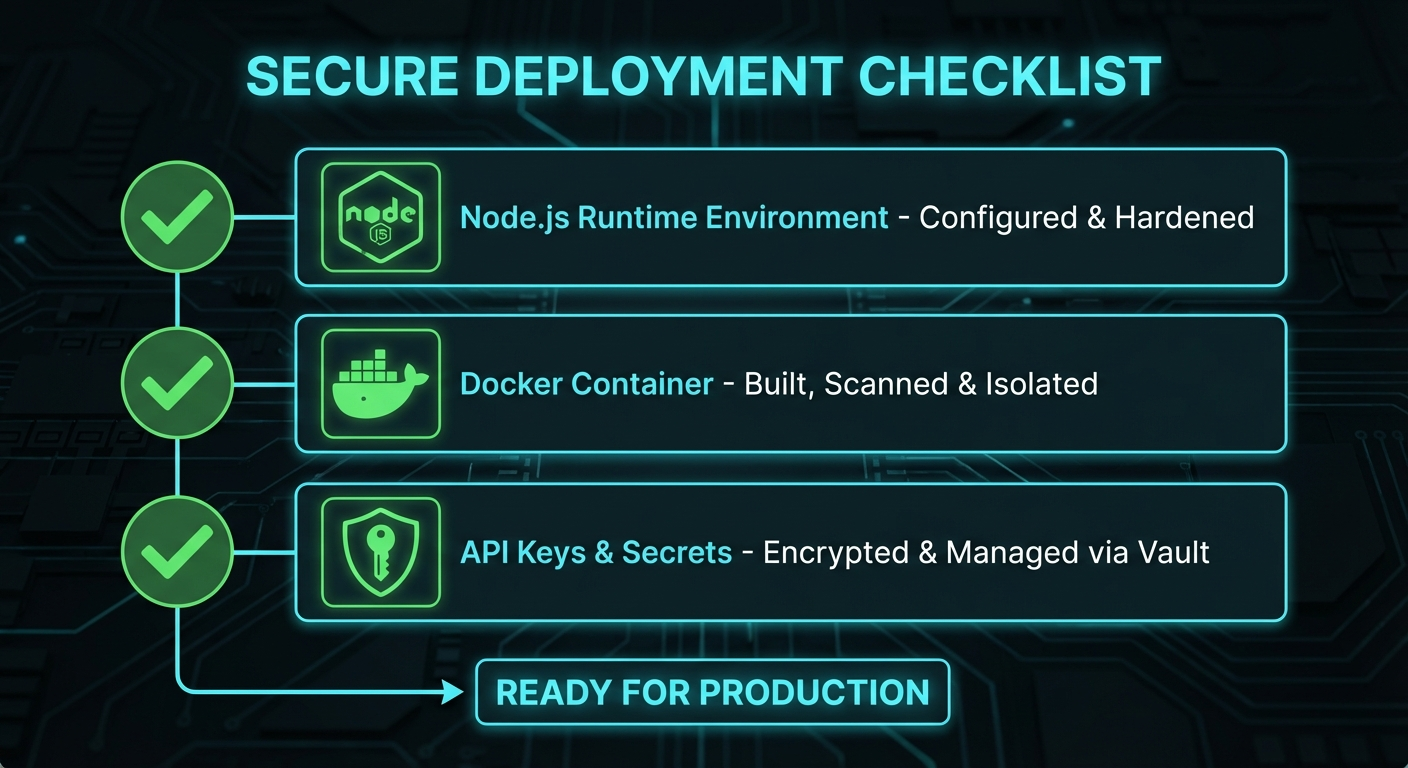
Before you install OpenClaw, make sure your machine has the following three things.
Node.js 18 or higher. OpenClaw runs as a Node.js application. Run node -v in your terminal to check your current version. If you do not have Node.js installed, download it from nodejs.org or use a version manager like nvm. Node 20 LTS is a safe choice.
Docker. OpenClaw uses Docker to isolate agent tool execution. Install Docker Desktop on macOS or Windows, or Docker Engine on Linux. Make sure Docker is running before you start OpenClaw. Run docker ps to confirm it is up.
An API key for a supported LLM provider. OpenClaw connects to models via OpenRouter by default, which gives you access to Claude, GPT-4, Gemini, and others through a single API key. Sign up at openrouter.ai, generate a key, and keep it handy. You can also configure OpenClaw to use Anthropic directly if you prefer.
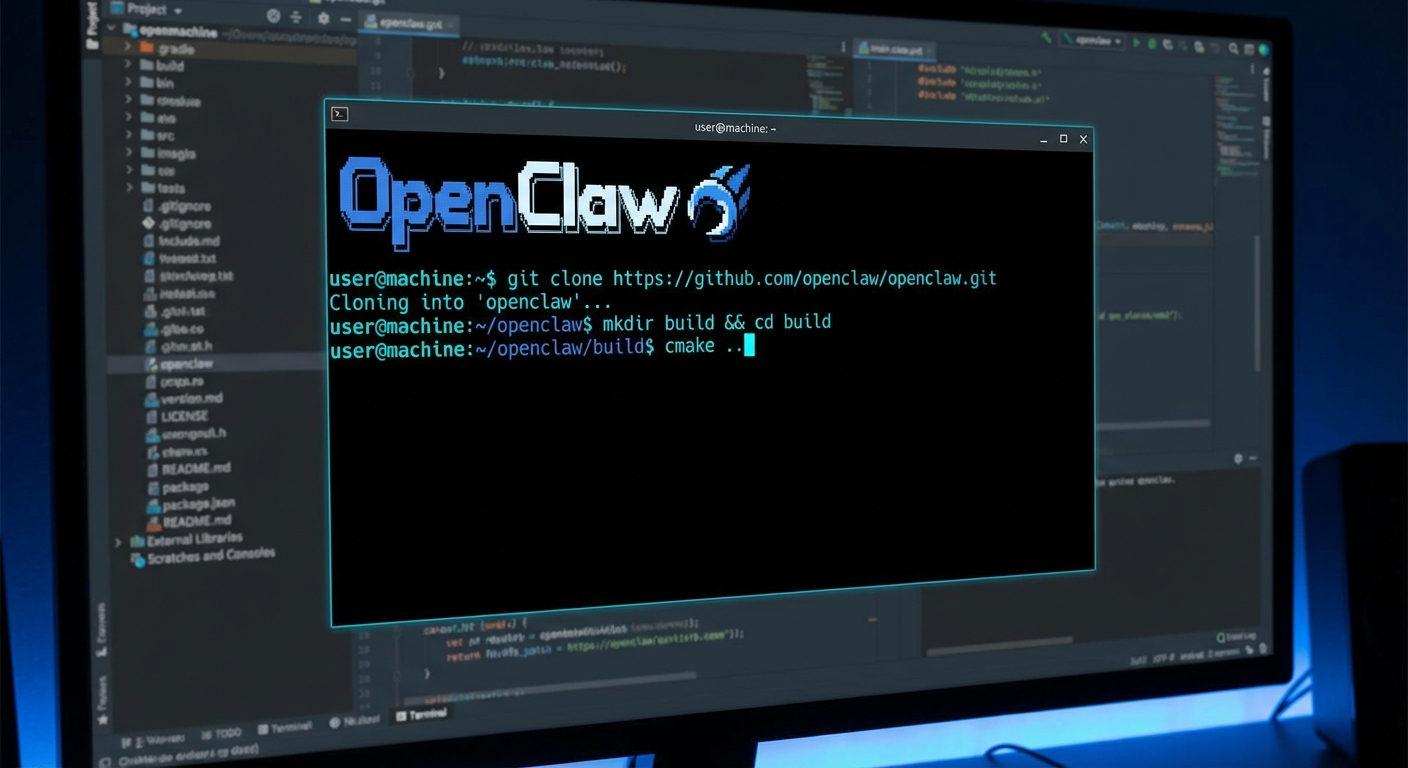
Step 1: Install the OpenClaw CLI
Open your terminal and run the following command:
npm install -g openclawThis installs the OpenClaw command-line interface globally. Once installed, you can run openclaw from any directory. Verify it worked by running:
openclaw --versionYou should see a version number printed to your terminal. If you get a permission error on macOS or Linux, run sudo npm install -g openclaw or configure npm to use a directory you own.
Step 2: Initialize Your Agent Workspace
Run the initialization command to set up the configuration files and workspace directory OpenClaw needs:
openclaw init my-first-agentThis creates a directory called my-first-agent with a configuration file (openclaw.json) and an agents directory where you define your agent's behavior. Change into the directory:
cd my-first-agentOpen openclaw.json in your text editor. You will need to add your API key. Look for the model configuration section and add your OpenRouter key:
{
  "model": {
    "provider": "openrouter",
    "name": "anthropic/claude-opus-4",
    "apiKey": "your-openrouter-key-here"
  }
}
Save the file. The init command also creates a skills directory where you can drop in custom instructions for your agent.
Step 3: Configure the NemoClaw Security Sandbox
This is the step that separates OpenClaw from running a raw API key in a script. NemoClaw wraps your agent in a sandboxed environment with policy-based controls over what your agent can and cannot do.
Open your openclaw.json file and add the NemoClaw configuration:
{
  "model": {
    "provider": "openrouter",
    "name": "anthropic/claude-opus-4",
    "apiKey": "your-openrouter-key-here"
  },
  "sandbox": {
    "enabled": true,
    "engine": "nemoclaw",
    "policy": "strict"
  }
}
The strict policy blocks file system writes outside the workspace, network calls to unknown hosts, and shell commands that are not explicitly whitelisted. You can adjust the policy level to moderate or permissive if you need more flexibility for specific tasks.
For full NemoClaw documentation, visit nvidia.com/nemoclaw.
Step 4: Run Your First Agent
Define a simple agent in agents/main.js. The agents directory was created for you during init. Open main.js and add the following:
module.exports = {
  name: "hello-agent",
  description: "A simple agent that greets you and reports the current time.",
  instructions: "When the user says hello, respond with a greeting and tell them what time it is right now.",
  tools: ["shell"]
};
This is a minimal agent definition. The instructions field tells the agent what to do, and the tools array grants it access to specific capabilities. shell lets the agent run terminal commands. You can expand this later with browser, filesystem, http, and other tool access.
Start the agent by running:
openclaw devYou should see OpenClaw boot up, connect to your model provider, and await input. Type hello and press Enter. The agent will respond with a greeting and the current time.
If the agent does not respond, check that Docker is running (docker ps) and that your API key is correctly set in openclaw.json. See the troubleshooting section below for common issues.
How OpenClaw Stays Safe
The sandbox blocks unauthorized actions. With NemoClaw enabled and policy set to strict, your agent cannot write files outside its workspace, cannot make arbitrary network requests, and cannot run shell commands that are not explicitly whitelisted.
You define the tool whitelist. When you add a tool to your agent definition, you are granting a specific permission. Adding filesystem to your tools array lets the agent read and write files in the workspace. Adding http lets it make web requests. Adding browser lets it control a headless browser. Each tool is a deliberate opt-in.
Audit logs record everything. OpenClaw logs all tool invocations, API calls, and agent decisions to a local log file. You can review these logs to see exactly what your agent did and when.
You can pull the plug at any time. Stop the openclaw dev process with Ctrl+C and the agent stops immediately. There is no background process that keeps running after you kill the terminal session.
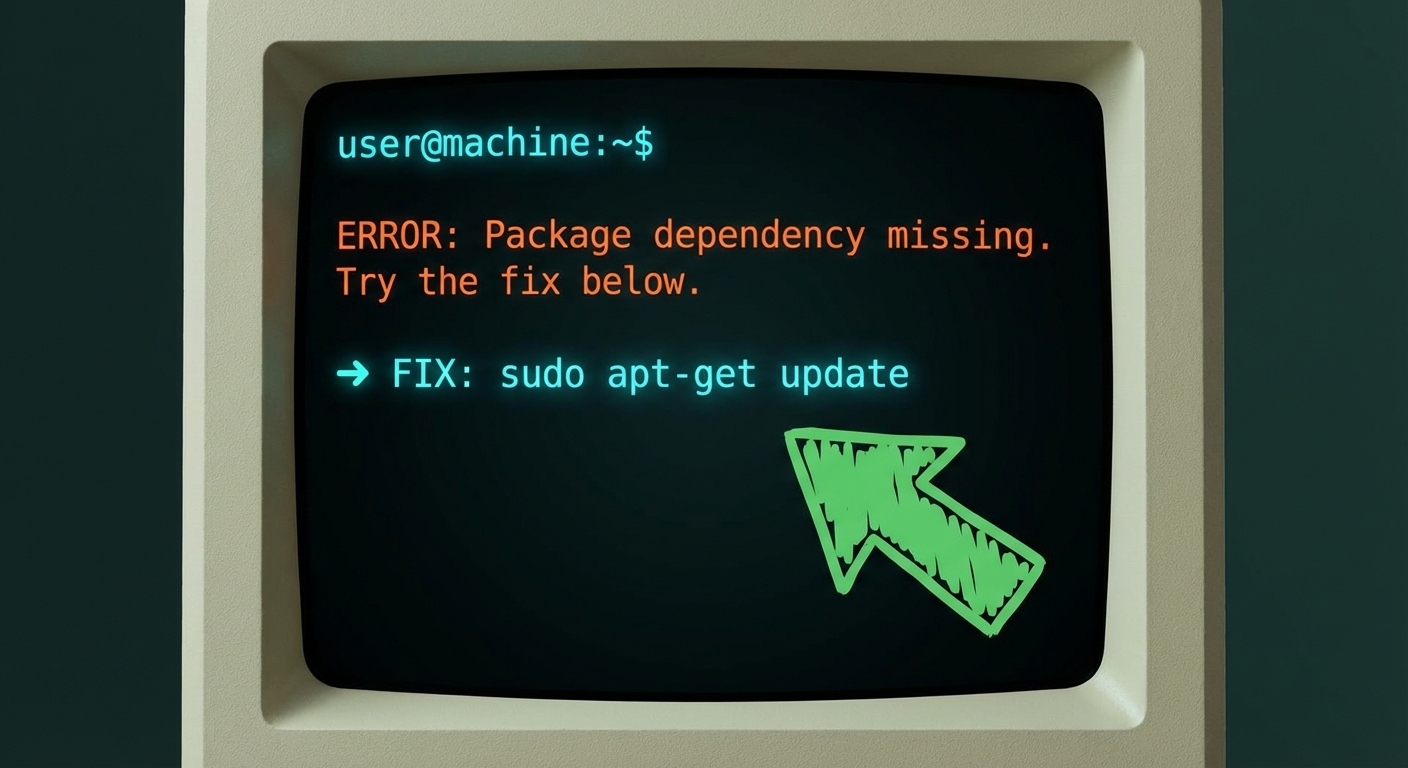
Troubleshooting
Here are the most common issues people hit during installation.
openclaw: command not found after npm install
If the openclaw command is not found after running npm install -g, your npm global bin directory is probably not in your PATH. On macOS or Linux, add this to your shell profile:
export PATH="$(npm config get prefix)/bin:$PATH"Then reload your shell or run source ~/.bashrc.
Docker is not running
OpenClaw will fail with a connection error if Docker is not running. On macOS or Windows, open the Docker Desktop app and wait for it to report that Docker is running. On Linux, run sudo systemctl start docker or sudo service docker start.
API key is rejected or returns 401
Double-check that your API key in openclaw.json is exactly what OpenRouter gave you, with no extra spaces or quotes. Some models on OpenRouter also require you to accept usage terms on their website before you can use them. Log into openrouter.ai and check the model page if you are getting unexpected 401s.
Agent runs but does not use tools
If your agent responds but cannot use tools, check that you have added the tool to the tools array in your agent definition. Tools are not enabled by default. A filesystem tool will not work unless you add "filesystem" to the tools array.
npm install fails with permission errors
On shared systems, avoid running sudo npm install. Instead, configure npm to use a user-owned directory:
mkdir -p ~/npm-global
npm config set prefix ~/npm-global
export PATH=~/npm-global/bin:$PATH
Then run npm install -g openclaw without sudo.
You have a working agent running in a secure sandbox. From here, you can explore adding more tools, writing custom skills, or connecting your agent to external services like Slack, GitHub, or a database. The OpenClaw documentation has guides for all of these.
If you want a faster path to a fully configured agent with pre-built skills, security policies, and example workflows, download the OpenClaw Starter Kit. It includes a production-ready sandbox configuration, a set of starter skills, and a step-by-step walkthrough for getting your first real workflow running.
Want it bundled? Download the free OpenClaw Starter Kit — one-command sandbox, starter skills, and the walkthrough in one place.
Ready to go deeper on agentic AI? Subscribe to the Agent Debrief newsletter for weekly guides, analysis, and real-world use cases from builders who are actually shipping with autonomous agents.